July 7, 2026 • Carmen Reyes • 8 min reading time • Specs verified June 25, 2026
Painting Aluminum and Pontoon Boats: Avoiding Galvanic Corrosion With the Right System
You finished the pontoon deck last fall, replaced two rotted nose pieces, and now you’re staring at forty feet of raw aluminum wondering why the topcoat you rolled on two seasons ago is already bubbling at the waterline. If that sounds familiar, the problem almost certainly wasn’t the topcoat — it was what went (or didn’t go) underneath it.
Aluminum is a reactive metal. When you pair it with the wrong primer, or skip the barrier system entirely, you set up a chemistry problem called galvanic corrosion — a process where two dissimilar metals in contact with each other and an electrolyte (in this case, lake or saltwater) create a small but relentless electrical current that eats the less-noble metal alive. Aluminum is low on the galvanic scale, which means it loses that fight fast. This guide will walk you through how to build a paint system that protects aluminum correctly, which products earn their price premium, and how to sequence the whole job so you don’t redo it in two years.
Why Aluminum Demands a Different System Than Fiberglass
Most boat owners arrive at this topic after treating an aluminum hull like a fiberglass one — buying a quality topcoat, maybe sanding first, and brushing it on. The blistering that follows isn’t a product defect. It’s a chemistry mismatch.
The core issue is that aluminum forms a thin, naturally occurring oxide layer almost the moment bare metal is exposed to air. That oxide layer is actually protective in a neutral environment, but it’s also slick, non-porous, and hostile to paint adhesion. Topcoats applied directly to oxidized aluminum don’t bond — they sit on top and eventually lift.
The second issue is ionic contamination. Saltwater (and, to a lesser extent, freshwater) is an electrolyte — it conducts electricity. The moment aluminum is in contact with a dissimilar metal (a stainless steel fastener, a bronze through-hull, a zinc anode that’s been depleted) through that electrolyte, a galvanic cell forms. Current flows. Aluminum corrodes. A proper paint system interrupts that circuit at the hull surface.
The fix is a two-stage approach: mechanical and chemical surface prep that breaks down and displaces the oxide layer, followed by a self-etching or epoxy-based barrier primer specifically formulated for non-ferrous metals. Everything else — the topcoat, the antifouling (if needed) — builds on top of that foundation.
Per the BoatUS Foundation’s overview of galvanic and electrolytic corrosion, aluminum sits near the active (anodic) end of the galvanic series in seawater, making it particularly vulnerable when electrical isolation is compromised. That document is worth bookmarking before you finalize your materials list.
The Three-Layer System That Actually Works
Layer 1: Surface Prep and Etching Primer
No primer adheres well to aluminum without prep. The sequence:
- Degrease with a wax-and-grease remover or acetone — every inch of the surface, no shortcuts.
- Abrade with 80–120 grit to scuff the oxide layer. On pontoon logs (the large cylindrical tubes running the length of the boat), pay extra attention to pitting. Pitted aluminum is pre-corroded aluminum, and paint won’t seal a pit — you need to address active corrosion with a phosphoric acid wash before priming.
- Apply a self-etching primer within the recoat window after abrading. Self-etching primers contain dilute acid (typically phosphoric acid) that chemically converts the oxide layer and bites into the bare metal, creating a molecular key for the next coat.
For pontoon boats specifically, the West Marine Inspiration guide on aluminum painting recommends Rust-Oleum’s self-etching primer as a proven entry-level option for freshwater recreational use. For anyone spending more on the topside system, the Jamestown Distributors Boatbuilder Central priming guide points toward two-part epoxy primers as the more durable foundation — the self-etching coat becomes a thin adhesion promoter under an epoxy build coat rather than the sole primer layer.
Layer 2: Epoxy Barrier Primer
This is where most mid-budget projects either spend their money wisely or miss the mark. A two-part epoxy primer — mixed from a base and activator just before application — cures to a hard, chemically resistant film that seals aluminum from water infiltration and provides a stable foundation for topcoats.
Awlgrip 545 Epoxy Primer is the benchmark product in this category. Per Awlgrip’s published technical data sheet, it’s formulated for use over properly prepared aluminum, steel, and fiberglass substrates, and it’s compatible with Awlgrip topcoat systems. It dries to a hard film in 4–6 hours at 77°F and can be overcoated within a wide window. Owners refinishing offshore aluminum vessels consistently cite 545 as the primer that makes the rest of the system hold.
Interlux Pre-Kote Primer (4200/4201) is the mid-market alternative. Per Interlux’s TDS, it’s a single-component alkyd primer — easier to apply and mix for DIY users, but not as chemically aggressive a barrier as a two-part epoxy. It performs well under Interlux Brightside or Toplac topcoats on freshwater pontoons but is less suited to saltwater immersion service or areas below the waterline.
The honest tradeoff: 545 runs $80–$110/quart as of May 2026 and requires careful mixing and a faster working window. Pre-Kote runs $30–$50/quart and is more forgiving. If your boat lives in saltwater or sits in the water year-round, the 545-class system is worth the premium. Freshwater recreational pontoons that get hauled seasonally can do very well with Pre-Kote.
Layer 3: Topcoat and (If Needed) Antifouling
For topsides above the waterline on aluminum, any quality marine enamel compatible with your primer system works. Interlux Brightside and Rust-Oleum Marine Topside Paint are the high-volume choices at the $30–$60/quart range for DIY pontoon work. Awlgrip topcoats and Interlux Perfection (a two-part polyurethane) deliver significantly harder, more UV-stable finishes in the $150–$250/quart range — justified on boats where appearance is a priority or where the hull will be in continuous service.
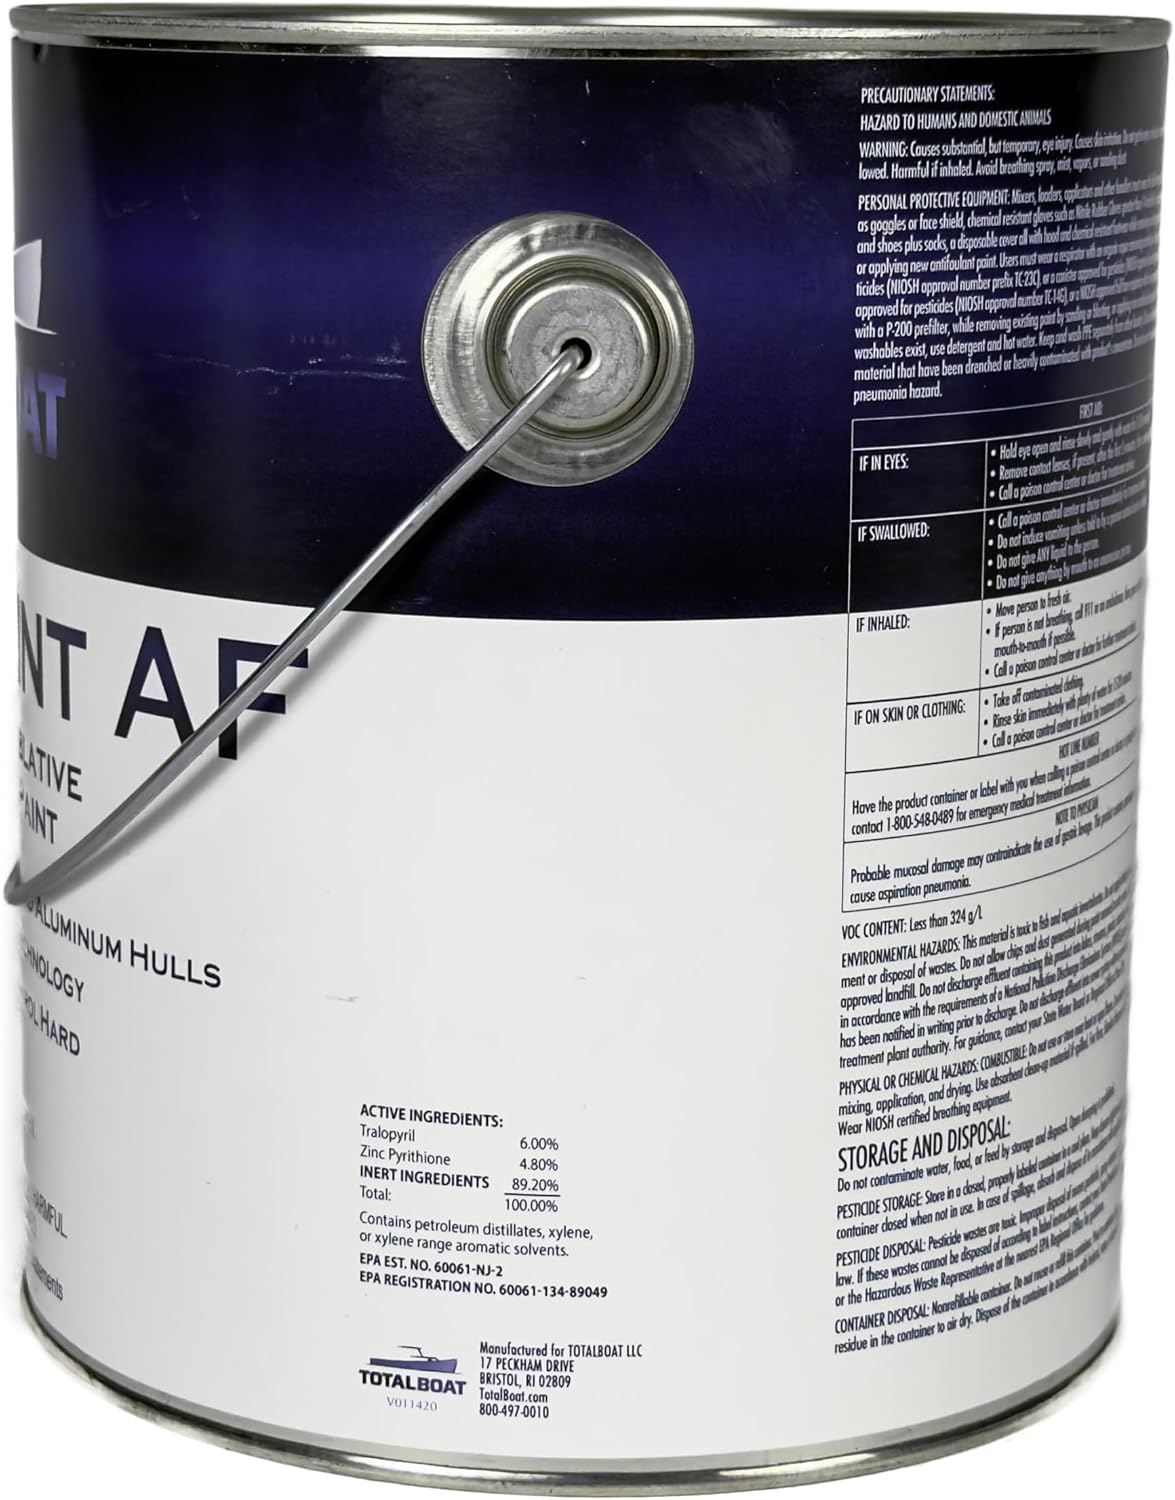
Antifouling paint for aluminum hulls is its own problem. Most antifouling paints designed for fiberglass contain copper biocides — and copper is cathodic (noble) relative to aluminum on the galvanic scale. Applying a copper-based antifouling directly to aluminum, even over primer, creates a galvanic couple right at the hull. Per Practical Sailor’s review of antifouling paints for aluminum hulls, the correct choice for aluminum below the waterline is a copper-free antifouling — products using zinc pyrithione or other non-cuprous biocides, such as Interlux Trilux 33 or Pettit Vivid, which are specifically labeled as aluminum-safe.
By the Numbers: System Cost at Three Tiers
| Build Tier | Primer | Topcoat | Antifouling | Approx. Material Cost (40-ft pontoon) |
|---|---|---|---|---|
| Entry (freshwater, seasonal haul) | Rust-Oleum Self-Etch + Interlux Pre-Kote | Rust-Oleum Marine Topside | None or zinc-based | $300–$600 |
| Mid (freshwater/brackish, in-water storage) | Awlgrip 545 | Interlux Brightside | Trilux 33 | $900–$1,600 |
| Pro (saltwater, continuous immersion) | Awlgrip 545 (2 coats) | Awlgrip or Interlux Perfection | Pettit Vivid or equivalent | $2,000–$3,500 |
Costs reflect May 2026 pricing observed across West Marine, Defender, and Jamestown Distributors. Coverage calculations assume one full surface prep, two primer coats, and two topcoat coats on a standard 24–28 ft pontoon with dual logs.
The Galvanic Isolation Problem Most Owners Miss
Paint is a passive barrier — it slows ionic contact but doesn’t eliminate the electrical pathway. Owners running aluminum pontoons with stainless trim, bronze fittings, or stainless propellers should also verify their zinc anode (sacrificial anode — a block of zinc or aluminum alloy bolted to the hull that corrodes instead of the hull metal) is properly sized and electrically bonded to the hull. An undersized or depleted anode with a partially failed paint barrier is a fast path to pitting corrosion that no topcoat can fix.
Per the Jamestown Distributors Boatbuilder Central priming guide, the anode should be bonded to bare metal — not painted over — and should be inspected every season. If more than 50% of the anode is consumed, replace it before repainting. This is basic galvanic protection doctrine, but it gets skipped constantly on pontoon boats where the focus is cosmetic.
Decision Rules: Which System Is Right for Your Boat
If you’re sorting through your options right now, here’s the framework:
If your boat lives in freshwater, gets hauled every winter, and the primary goal is appearance → Entry to mid tier is defensible. Self-etch + Pre-Kote + Brightside will hold for multiple seasons with annual touch-up. Skip copper antifouling entirely.
If your boat stays in the water seasonally in brackish or freshwater → Go straight to Awlgrip 545 as your barrier primer. The jump in cost is real; the jump in longevity is larger. Add a zinc-safe antifouling on the waterline and below.
If your boat operates in saltwater or lives in a slip year-round → There is no shortcut worth taking. Two coats of 545, a proper copper-free antifouling rated for aluminum, annual anode checks, and a topcoat in the two-part polyurethane class. The $2,000–$3,500 material cost for a 40-footer is painful once; stripping a failed system and dealing with active pitting corrosion costs more than that in time alone.
If you’re seeing existing blistering or bubbling under a previous paint job → Stop. Don’t repaint over it. That’s a substrate failure, not a topcoat failure. Strip to bare metal, assess the corrosion, address any pitting, and start the system from scratch. Recoating over a compromised barrier just traps moisture.
The chemistry here is unforgiving, but it’s also predictable — which means a correctly sequenced system built on the right primer foundation will perform exactly as long as the manufacturer specs suggest. Spend the money on the barrier. Everything else follows.