August 16, 2026 • Carmen Reyes • 10 min reading time • Specs verified June 25, 2026
Marine Touch-Up and Spot Repair Techniques: Pens, Syringes, and Small-Batch Epoxy for Quick Fixes
You’re getting ready to splash the boat in three weeks and you just noticed a cluster of pinholes (tiny air-bubble voids in the surface coat) along the waterline, a hairline crack near a cleat base, and a scuff on the topsides that’s been bugging you all winter. None of these are structural emergencies. All of them are annoying. And the question every boat owner hits at this point is the same: do I break out a full repair kit — mixing cups, fiberglass cloth, the whole production — or is there something faster and proportionate to the actual damage?
That’s exactly what this article answers. We’re going to walk through the real toolkit for small-scale marine repairs: touch-up paint pens for cosmetic concealment, syringe-style two-part epoxy for void filling and crack injection, fast-set “five-minute” style epoxies for awkward-access bonding jobs, and short-strand filler as a Bondo alternative for enclosed spaces. We’ll cover when each format earns its place, where reviewers and published specs say each one falls short, and how to right-size your purchase so you’re not buying a quart kit for a business-card-sized patch.
Touch-Up Paint Pens: Honest About What They Do
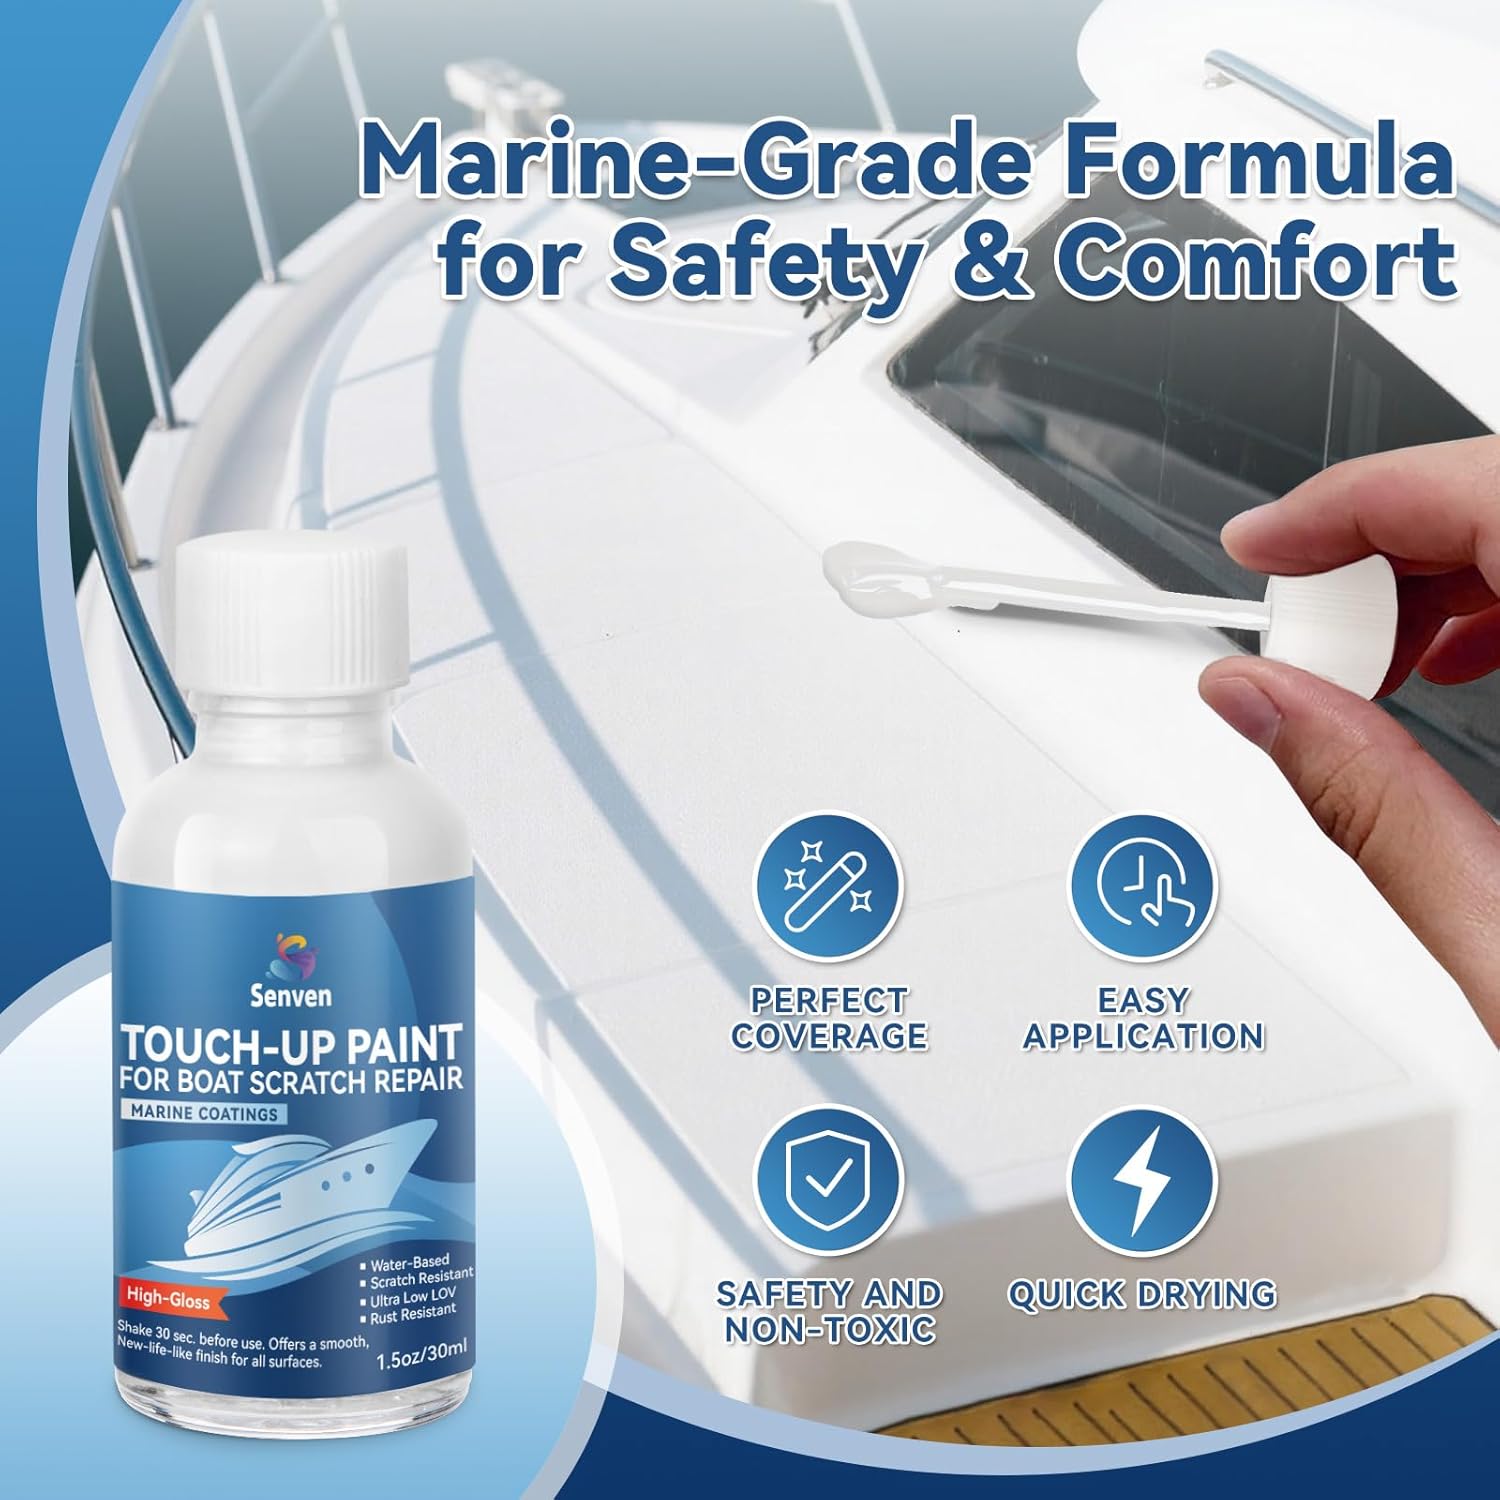
Let’s be direct about the category: a touch-up paint pen is a cosmetic tool, not a structural one. It fills visual space the way a car touch-up pen does — covering a scratch or abraded area so it’s less visible. It does not restore structural integrity, it does not chemically bond to gelcoat (the hard, pigmented outer surface of a fiberglass hull) the way a proper gelcoat repair compound does, and color matching is genuinely difficult.
Across aggregated buyer reviews, the pattern with marine touch-up pens is consistent: buyers use them for surface scuffs where the gelcoat isn’t actually missing, just scratched or hazed. The most honest way to frame it — and reviewers do frame it this way — is that you’re getting a tint fill that reduces contrast, not a seamless repair. One reviewed use case involved applying the pen to a refrigerator rather than a boat, which tells you something about who’s buying these and with what expectations: people who want quick concealment and aren’t measuring the result against a professional standard.
Where the pen earns its place: dock rash on white topsides, shallow scuffs in a single-color hull, and cosmetic blemishes on above-waterline surfaces that aren’t under UV stress. The pen excels at “good enough from six feet.”
Where it fails: gelcoat color varies enormously by hull age and UV exposure. A pen matched to a manufacturer code will rarely be an exact visual match on a boat that’s been in the sun for eight years. Sand before applying — the pen needs a slightly abraded surface to hold — then accept that you’re reducing the visual distraction, not eliminating it.
Syringe Epoxy for Void Filling: The Oral Syringe Technique
This is where the practitioner toolkit gets genuinely interesting. Syringe-format two-part epoxies — products like MarineWeld in dual-barrel cartridges — are designed to dispense pre-measured resin and hardener through a static mixing tip (a narrow tube with internal baffles that blend the two components as they exit). The design is faster than weighing and mixing separate components, and the tip controls the bead diameter precisely enough to inject epoxy into small voids.
One technique that reviewers have documented with notable specificity: using a separate oral syringe (the kind sold in pharmacies for dispensing liquid medication) to backfill a fiberglass void or pinhole. Here’s the method, derived from published owner reports and consistent with guidance in the Jamestown Distributors Boatbuilder Central epoxy selection resources:
- Mix a small amount of syringe epoxy into a disposable cup — just enough to fill the void with a slight excess.
- Draw the mixed epoxy into the oral syringe before gel begins. At working temperature around 70°F, you typically have 4–6 minutes with fast-set formulas.
- Insert the syringe tip into the void or pinhole and inject slowly, working from the bottom of the void up. Air needs somewhere to escape — don’t seal the opening completely before the void is full.
- Overfill slightly, then cover with wax paper and apply gentle pressure with a flat block. This prevents a concave cure.
- Allow full cure (typically 15–24 hours for structural strength, per manufacturer TDS sheets) before sanding flush with 80-grit, then finishing with 220.
This technique translates directly to hull pinhole clusters, fiberglass shower pan repairs aboard liveaboards, and small stress cracks that have opened enough to accept a syringe tip.
The cap problem: storage between uses. Reviewers consistently raise a specific frustration with syringe epoxies: the static mixing tip cures with residual material in the tip, making the dispenser unusable on the next session. MarineWeld reviewers specifically call out the cap design as superior to competing products in preventing this — an implicit acknowledgment that tip curing is a known failure mode across the category. Best practice per Practical Sailor’s epoxy adhesive comparison and confirmed by owner experience patterns: after dispensing, dispense a small additional bead onto cardboard to clear mixed material, remove the static tip, cap the individual barrels with the plugs or tape, and store a fresh tip separately. A new static tip costs almost nothing if you buy them in bulk from an epoxy supplier, and it’s far cheaper than wasting a partially used cartridge.
Fast-Set Epoxy: The 6-Minute Constraint Is Real
Products like KwikWeld — a two-part epoxy with a working time of approximately 6 minutes — get consistent praise in reviews for bond strength. Published specs for this class of epoxy put tensile strength in the range of 3,000–5,000 PSI when fully cured, which is meaningful for structural spot repairs. But the working time is genuinely constraining in boat repair contexts, and reviewers are specific about why.
One reviewer documented a situation familiar to anyone who’s worked in an engine compartment or below a cabin sole: they needed to set a hinge in a confined space where holding position required both hands, and 6 minutes forced them to pre-plan the exact final orientation before mixing. There’s no adjustment window. On a workbench with good access, 6 minutes is workable. Upside-down under a settee berth with a headlamp, it’s a stress test.
By the numbers — fast epoxy working times at 70°F:
| Product class | Approx. working time | Full cure (structural) |
|---|---|---|
| 6-min fast-set (KwikWeld type) | 4–6 min | 60–90 min |
| MarineWeld syringe | 8–10 min | 15–24 hrs |
| WEST SYSTEM 105/205 | 9–12 min | 24 hrs |
| WEST SYSTEM 105/206 (slow) | 20–25 min | 24–36 hrs |
Sources: manufacturer TDS sheets; Epoxyworks Issue 52 working-time comparison.
Is 6-minute epoxy structural? For bonding hardware, filling a small crack, or re-adhering a delaminated layer where the bond area is clean and properly prepared, fast-set epoxy has legitimate structural value. It is not appropriate as the sole repair for a working crack under cyclic load — meaning a crack that flexes with hull movement. For those, per BoatUS’s DIY fiberglass repair guidance, you need to address the underlying flex, remove all contamination, and use a slower-set epoxy that allows full wet-out of the repair area before gelation begins.
Right-Sizing Your Epoxy Purchase
This is where a lot of intermediate-level buyers make an expensive mistake. The WEST SYSTEM 105 kit is the industry benchmark for fiberglass repair, and the published formulation specs are genuinely excellent. But reviewers who needed to patch a 4×6 inch area note a real mismatch: the smallest standard WEST SYSTEM kit contains enough resin to do far more repair than a single small patch, and epoxy has a shelf life (typically 1–2 years unopened, shorter once opened, per Epoxyworks manufacturer guidance).
Decision rule for purchase sizing:
- Pinhole cluster or single hairline crack under 6 inches: Syringe format (MarineWeld or equivalent). You’ll use most of the cartridge, waste is minimal, and you avoid shelf-life exposure on a large kit.
- Patch repair up to roughly 1 square foot: Small WEST SYSTEM kit (the 105-K mini kit) or equivalent. Mix discipline is critical — measure by weight or use metered pumps.
- Multiple repairs across a season, or any tabbing work (attaching fiberglass cloth to hull surfaces for structural reinforcement): Full kit. The cost per ounce drops significantly, and you’ll use it.
West Marine’s Fiberglass Repair Fundamentals advisor guide and Jamestown Distributors’ Boatbuilder Central both frame kit selection around total repair area, not individual repair count — useful framing when you’re planning a spring punch list.
Short-Strand Filler vs. Standard Bondo: A Quality-of-Life Difference
J-B Weld’s short-strand fiberglass filler occupies a specific niche that standard Bondo fiberglass resin doesn’t: it’s a pre-mixed, thickened filler with chopped fiberglass strands that’s applied like a putty rather than wet-laid like traditional fiberglass repair. Reviewers consistently flag one particular advantage in boat repair contexts — lower odor than standard Bondo. That’s not a trivial point. If you’re doing interior repairs below decks, in a head compartment, or in a liveaboard galley with limited ventilation, styrene fumes (the source of Bondo’s sharp smell) are a genuine safety and comfort concern. West Marine’s technical staff guidance on enclosed-space repair echoes this: ventilation requirements for standard polyester fillers are significant.
Short-strand filler is not a substitute for a proper structural laminate repair on a compromised hull — it’s appropriate for cosmetic filling, fairing, and above-waterline surface restoration where some fiber reinforcement is useful but the loading isn’t structural. For pinholes, minor crazing, and surface-level gelcoat preparation before painting, it’s a legitimate tool with a better indoor working profile than traditional polyester fillers.
Frequently Asked Questions
Can a touch-up paint pen color-match my existing gelcoat? Rarely with precision, especially on hulls older than 3–5 years. UV exposure shifts gelcoat color continuously. A pen matched to the manufacturer’s original color code can reduce the visual contrast of a scratch significantly, but expect a visible difference on close inspection. For a better match on significant repairs, gelcoat color-matching kits with tint bases allow custom mixing — though that’s a different product category entirely.
How do I prevent the MarineWeld syringe tip from curing between uses? After your pour, dispense a small bead onto scrap material to clear mixed epoxy from the tip, then remove the static mixing tip entirely. Cap each barrel with its individual plug or tape. Store a fresh, unused static tip with the cartridge. Never leave a used tip on the cartridge between sessions — the mixed residue will cure and seal the outlet.
Is 6-minute epoxy strong enough for a structural crack or just cosmetic gaps? For static bonding applications where the substrate is clean and the crack isn’t under cyclic flex, published tensile specs support legitimate structural use. For cracks that flex with hull movement, fast-set epoxy is not appropriate as a standalone repair — the short working time prevents adequate wet-out and the rigid cure can re-crack under flex loading. Consult BoatUS’s DIY fiberglass repair resources for flex-crack protocols.
How do I fill a pinhole in a fiberglass hull without a full repair kit? The oral syringe technique described above — mixing a small amount of two-part epoxy, drawing it into a pharmacy-style oral syringe, and injecting slowly into the void — is the most proportionate approach for isolated pinhole repair. For clusters of pinholes over a larger area, a fairing compound applied after light surface preparation is more efficient.
What is the difference between J-B Weld short-strand filler and standard Bondo fiberglass resin? Standard Bondo fiberglass resin is a wet polyester resin system requiring a separate hardener (MEK peroxide) and often fiberglass mat — it’s a laminating product. Short-strand filler is a pre-thickened putty with chopped fibers already incorporated, applied with a spreader like auto body filler. Short-strand is easier to use in small quantities, has lower odor, and is better suited to surface filling. Standard polyester resin is appropriate for structural laminate repairs where you need to build up fiberglass cloth layers.
Do I need to sand before applying touch-up pen paint to a scratch? Yes. Light sanding with 220-grit scuff-sands the surface enough to give the paint something to grip. Applying over a smooth, glossy gelcoat surface — even a scratched one — reduces adhesion and causes the touch-up coat to peel or chip faster. Wipe the area clean with isopropyl alcohol after sanding, let it flash dry, then apply the pen in thin passes.