August 19, 2026 • Carmen Reyes • 10 min reading time • Specs verified June 25, 2026
Penetrating Epoxy and Rot Repair Beyond Boats: RVs, Campers, Porches, and What Transfers
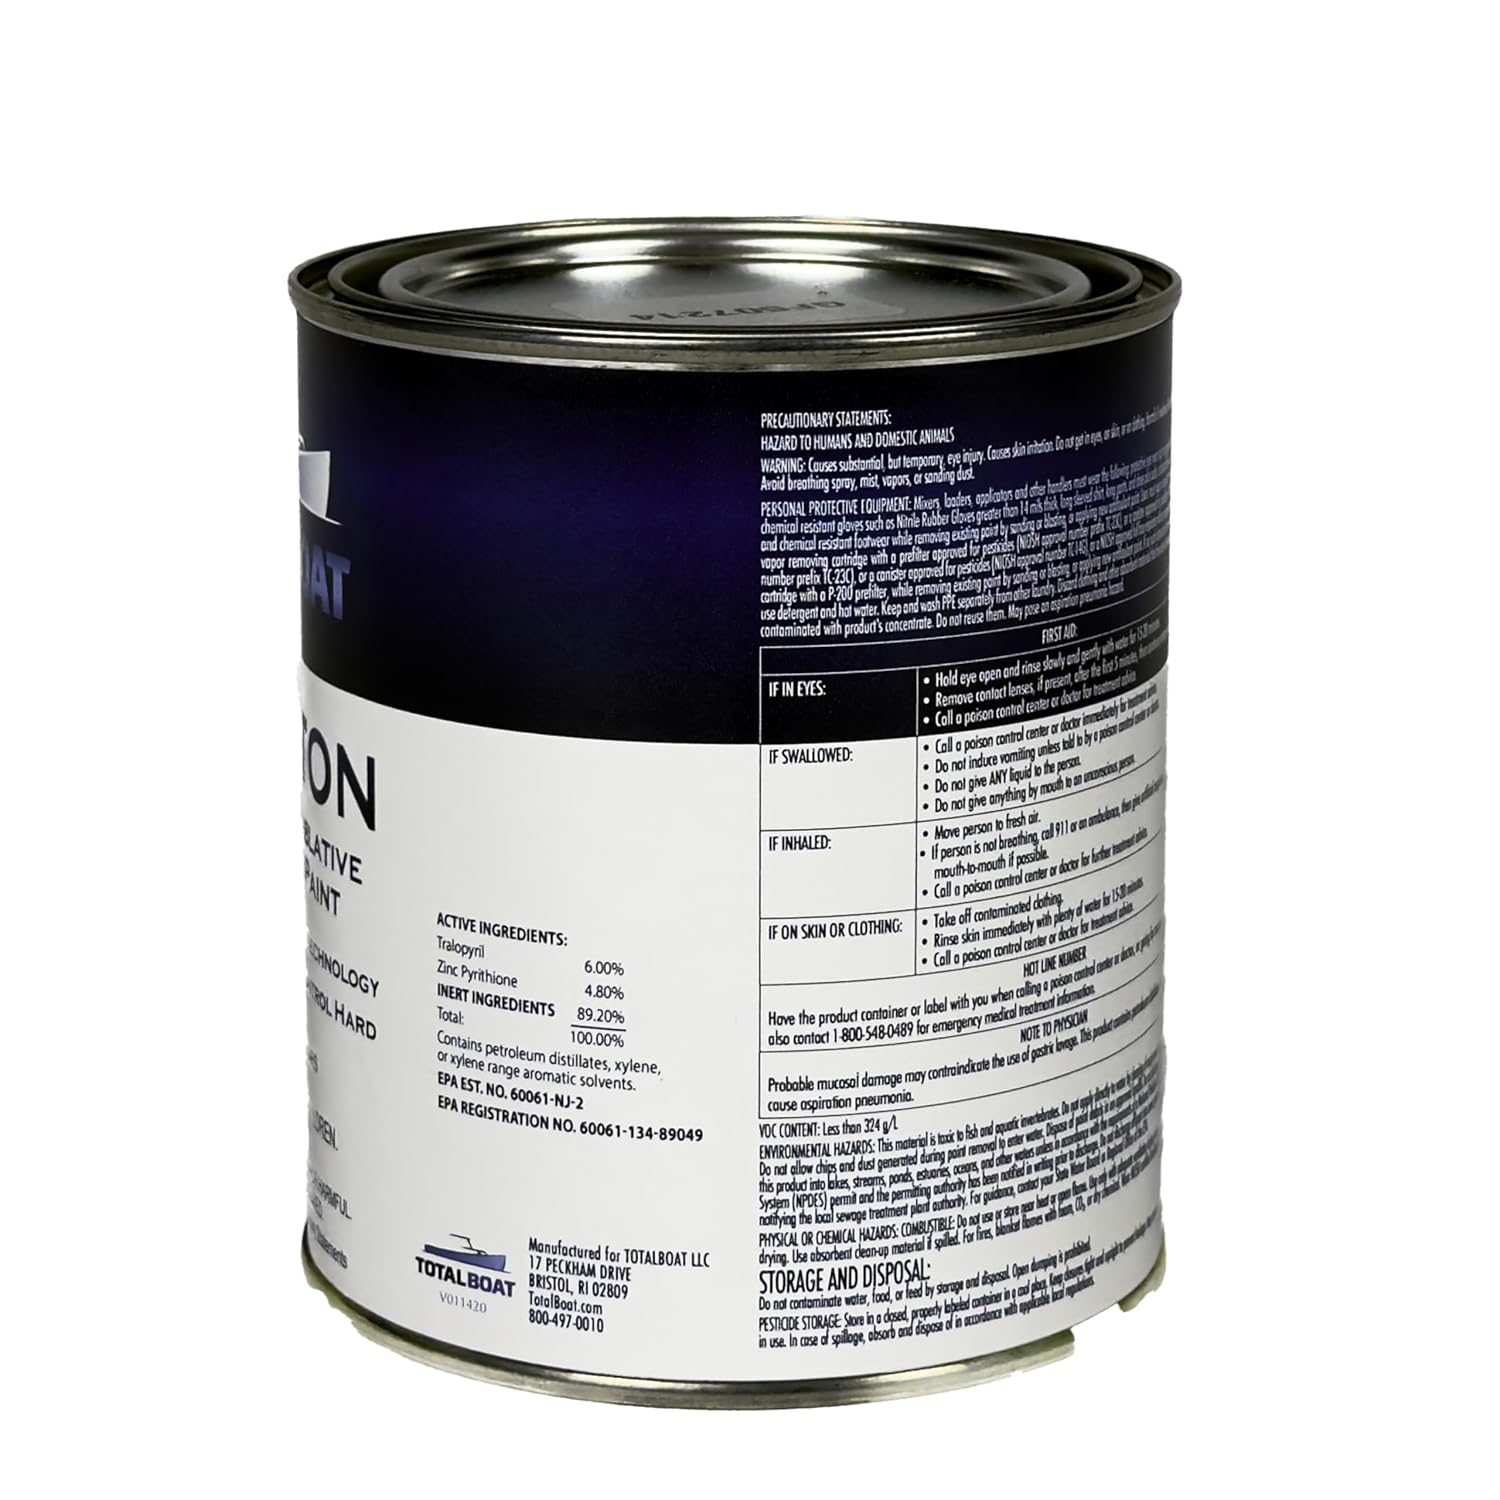
Imagine you’re standing on a deck board that gives just slightly underfoot — not enough to fall through, but enough to make you stop and press down again. Or you’re under your RV, prodding an OSB (oriented strand board — the layered wood-chip sheet common in manufactured floors) subfloor panel that has gone spongy in a corner around a leaking slide seal. You’re not facing a structural catastrophe yet. But you’re also not facing sound wood. That in-between zone — soft, moisture-damaged, early-stage rot — is exactly where penetrating epoxy earns its keep. Penetrating epoxy is a thin, low-viscosity (pourable, almost water-like) resin formulated to wick deep into degraded wood fibers and harden them from the inside out, without requiring you to cut everything out and start fresh. This article maps what marine penetrating epoxy technique — specifically TotalBoat Penetrating Epoxy, which a large portion of boat-restoration reviewers have crossed over into non-marine applications — transfers cleanly to RVs, campers, and porch structures, and where the limits are.
Why Boat Rot Repair Technique Works Anywhere Wood Meets Water
The chemistry doesn’t care whether the rotting wood is a boat stringer (a structural rib running the length of a hull) or an RV subfloor panel. What causes rot in both cases is the same: wood moisture content staying above roughly 20% long enough for wood-digesting fungi to colonize the fibers. Once the fungi eat the lignin and cellulose that give wood its strength, you’re left with something that looks like wood but compresses under finger pressure.
Penetrating epoxy addresses this by replacing what the fungi removed — sort of. It doesn’t regenerate wood fiber, but it infiltrates the remaining cellular structure and cures into a rigid matrix that restores compressive strength. Per TotalBoat’s published Technical Data Sheet for their Penetrating Epoxy, the product is specifically formulated for low surface energy penetration into wet or dry degraded wood, using a reactive diluent system that keeps viscosity low enough to wick by capillary action rather than just sitting on the surface.
This is why the technique migrated from boatyards into RV repair forums and porch restoration communities: the underlying problem is identical, and the chemistry is genuinely suited to it.
What does transfer from boat work to land-based structures:
- The diagnostic approach (probe soft areas with an awl or screwdriver; if it penetrates more than ¼ inch easily, you have rot)
- The prep philosophy (seal the water source first — always, always first)
- The application sequence (flood-coat until the wood won’t absorb more, let it kick, repeat)
- The follow-up with laminating epoxy to fill voids and restore surface
What doesn’t transfer cleanly:
- Structural load assumptions (a porch beam under point load is different from a boat stringer under flex load — consult a structural engineer if the beam is load-bearing)
- Ventilation assumptions (boat shops are typically open; RV interiors are not — more on this below)
- Finishing compatibility (gelcoat over epoxy follows different rules than paint or decking over epoxy)
The Sweet Spot and the Hard Limit: What Penetrating Epoxy Can and Can’t Fix
A former MSC Industrial Sourcing Buyer who reviewed TotalBoat Penetrating Epoxy extensively flagged something worth taking seriously: this product “assumes professional context.” The instructions are written for someone who already understands epoxy chemistry, surface prep standards, and cure-window timing. That gap matters more in non-marine settings, where the DIYer may have less background with the material.
Here’s the honest assessment based on aggregated owner reviews and published product specifications:
The sweet spot is early-to-mid-stage rot: Reviewers consistently describe successful outcomes on wood that is “slightly soft” but not structurally failed — OSB subfloors with water damage at penetration points, porch beams that are “getting soft from moisture and UV exposure” with a few small rot pockets, camper roof decking that has gone spongy around a seam but hasn’t delaminated. One RV subfloor reviewer describes the treated OSB becoming noticeably firmer within 24 hours of cure — restored enough to support underlayment and new flooring without full panel replacement.
The hard limit is advanced structural failure: If the wood crumbles when you probe it, if a screwdriver sinks to the handle without resistance, or if the wood has separated into soft layers, penetrating epoxy cannot restore adequate structural capacity. At that point, you’re looking at replacement, possibly with sister members (sister members = new structural pieces installed alongside or replacing the failed ones). Penetrating epoxy on wood that has lost more than roughly 50% of its fiber integrity will harden what remains, but what remains isn’t enough to do structural work. No product claim overrides physics.
By the Numbers
| Condition | Penetrating Epoxy Verdict |
|---|---|
| Firm wood, surface discoloration only | Overkill — conventional sealers sufficient |
| Slightly soft, awl penetrates < ¼ inch | Primary use case — good candidate |
| Noticeably soft, awl penetrates ¼–½ inch | Marginal — consolidate + laminating epoxy fill required |
| Crumbles under probing, > ½ inch penetration | Replacement required; epoxy will not restore structural load capacity |
The Workflow: From RV Subfloor to Porch Beam
The sequence that reviewers who report success follow is not complicated, but it’s strict. Per TotalBoat’s TDS and consistent with the methodology described in epoxyworks.com’s Issue 54 piece on wood and epoxy compatibility (“Wood and Epoxy Compatibility: Moisture Content and Adhesion”), moisture content at the repair surface should ideally be below 20% before application — though TotalBoat’s formulation has more tolerance for residual moisture than standard laminating epoxies.
Step 1: Eliminate the water source. Every reviewer who reports failure skipped this. Every reviewer who reports success mentions it first. On an RV, that means the slide seal, the roof seam, or the window frame. On a porch, that means the flashing, the end grain exposure, or the gutter drainage path. Apply penetrating epoxy to a surface that still gets wet, and you’re encapsulating moisture that will eventually cause delamination or re-rot beneath the epoxy shell.
Step 2: Let the wood dry. For RV interiors, this may mean running a dehumidifier for several days before treatment. The wood doesn’t need to be bone dry — TotalBoat’s system tolerates some residual moisture — but it should not be actively wet.
Step 3: Flood-coat generously. Apply penetrating epoxy with a brush, roller, or by pouring directly onto horizontal surfaces. The goal is saturation, not a surface film. Reapply every 15–30 minutes while the wood is still absorbing. You’ll see the absorption rate slow as the wood approaches saturation — that’s your stopping signal.
Step 4: Allow full cure before laminating. TotalBoat’s published cure schedules indicate a minimum of 24 hours at 70°F before applying laminating resin over penetrating epoxy. Cooler temperatures extend this window significantly — at 50°F, budget 48–72 hours. Don’t rush this; laminating epoxy applied over incompletely cured penetrating epoxy can cause adhesion failures.
Step 5: Fill voids with laminating epoxy. If there are actual void pockets — areas where rot removed wood entirely — penetrating epoxy won’t fill them. TotalBoat 5:1 Epoxy (a marine-grade laminating resin mixed at a 5-part resin to 1-part hardener ratio) is the logical next step for structural filling and surface restoration. Reviewers who rebuilt boat stringers and camper roofs consistently use this two-stage approach: penetrating epoxy to consolidate, laminating epoxy to fill and fair.
Critical safety note on laminating epoxy: Epoxy curing is an exothermic reaction — it generates heat. One reviewer working with TotalBoat 5:1 describes mixing a large batch in a reused plastic cup that then melted and began smoking due to the heat buildup. In enclosed spaces like RV interiors, a runaway exotherm (an accelerating heat spike from too large a mixed volume in too small a container) is a genuine hazard. Mix smaller batches in wide, shallow containers rather than deep cups. Don’t mix more than you can apply in 5–10 minutes. If the container starts feeling warm, spread the material immediately onto a flat surface — the thinner the layer, the slower the cure and the less heat concentration.
Ventilation Is Not Optional in RV and Camper Work
The BoatUS Seaworthy archive piece “Rot Repair for the Rest of Us” addresses epoxy fume exposure in enclosed bilge spaces — and the guidance maps directly to RV interiors, which are smaller and often tighter. TotalBoat Penetrating Epoxy’s SDS (Safety Data Sheet) lists bisphenol A diglycidyl ether (BADGE) as a primary component, with vapor exposure limits requiring adequate air exchange. In an RV with windows closed, vapor concentrations can build to levels that cause respiratory irritation, headaches, and sensitization — meaning you can develop a permanent epoxy allergy from repeated overexposure.
Minimum ventilation for RV/camper work: open every window and door, run an externally vented fan, wear a half-face respirator rated for organic vapors (not just a dust mask), and limit continuous work sessions to 20–30 minutes before stepping outside. Don’t let occupants or pets back into the space until the epoxy has cured solid and the space has been thoroughly aired — typically 24 hours minimum with active ventilation.
Frequently Asked Questions
Do I need to remove all the rotten wood before applying penetrating epoxy, or can it harden soft spots in place? You don’t need to remove all degraded wood — that’s actually the point of penetrating epoxy. Remove wood that has completely lost structural integrity (the crumbling, fiber-free material), but soft-but-intact wood can be hardened in place. The key word is “intact” — the wood fibers need to still be present for the epoxy to reinforce them.
How do I know when the wood has absorbed enough penetrating epoxy? Watch the surface between applications. When the wood stops absorbing within 15–20 minutes of a fresh coat — when you see a surface film forming rather than the epoxy wicking in — you’ve reached saturation. Some reviewers describe the wood surface shifting from a flat, absorbed appearance to a slightly glossy one as the signal.
Can I paint or apply gelcoat over cured TotalBoat penetrating epoxy? Yes, but with preparation. Most marine topside paints (including Awlgrip and Interlux Perfection) bond well to fully cured epoxy with proper scuff-sanding (typically 80–120 grit) and a compatible primer. Gelcoat is more complicated — gelcoat does not bond reliably to epoxy long-term without a barrier layer; consult the specific paint or gelcoat manufacturer’s technical data sheet for their recommended adhesion protocol.
How long does penetrating epoxy take to cure before I can apply a laminating layer on top? Per TotalBoat’s published cure data, 24 hours at 70°F is the minimum. At lower temperatures (50–60°F), plan for 48 hours or more. The surface should feel firm and non-tacky, and a thumbnail pressed firmly should leave no indentation.
Is TotalBoat penetrating epoxy safe to use inside an RV or camper with limited ventilation? It can be used safely with the right precautions, but “limited ventilation” is the exact condition to address before you open the containers. Organic vapor respirator, maximum air exchange, short work sessions, and extended post-application airing are not optional. Treat it the way the TDS recommends, not the way it might look in a quick-start video.
The Decision Rule
If you’re staring at a soft spot in an RV subfloor, a camper roof section, or a porch beam, here’s the framework:
- If the wood still has intact fiber structure but has lost firmness → penetrating epoxy is your first tool; follow it with laminating epoxy for voids, then your finish system of choice.
- If the wood crumbles or has lost more than half its section → cut it out and replace it; no consolidant restores what’s no longer there.
- If you haven’t sealed the water source yet → do that first, every time, without exception.
- If you’re working inside an enclosed space → treat ventilation as a pre-condition, not an afterthought.
The technique that saves boat stringers saves RV subfloors and porch beams because the wood-rot chemistry is identical. What changes is the context — and the responsibility to adapt the protocol to that context. Seal the leak, prep the surface, flood until saturated, let it cure completely, and follow up with laminating epoxy where you need structural fill. Reviewers who follow that sequence report results that hold up. Those who don’t are the cautionary tales the rest of us learn from.