July 12, 2026 • Carmen Reyes • 10 min reading time • Specs verified June 25, 2026
Rot Repair and Structural Wood Rescue: Penetrating Epoxy, Laminating Resin, and Filler in the Right Order
You’ve been poking at a soft spot on the foredeck for three weeks telling yourself it’s probably just surface osmosis. Then the screwdriver goes in four inches without resistance, and now you’re staring at rot — which is the word for wood fibers that have been broken down by fungal decay until they lose structural integrity. Rot doesn’t fix itself, and ignoring it long enough guarantees you’ll be replacing cored deck sections instead of stabilizing them. The good news: caught at the right stage, decayed boat wood can be chemically consolidated and structurally rebuilt without a full cut-and-replace job. The process uses three distinct products applied in a specific order — penetrating epoxy (a thin, low-viscosity resin that soaks into degraded wood fibers and rehardened them), laminating resin (a thicker structural layer that bonds fiberglass cloth to the rebuilt substrate), and fairing filler (a short-strand or microballoon-loaded paste that restores surface geometry). Use them out of order, and you’ll be grinding it all back out.
Here’s everything you need to know to do it right the first time.
| EDITOR'S PICKTotalBoat 5:1 Marine Epoxy Resi… | Mid-tierBondo Fiberglass Resin Repair K… | Budget pick3M Bondo Fiberglass Resin 0.9 P… | |
|---|---|---|---|
| Mix Ratio | 5:1 | — | — |
| Container Size | Gallon | 0.9 Quart | 0.9 Pint |
| Material | Epoxy | Fiberglass Resin | Fiberglass Resin |
| Use | Bonding, Filleting, Coating, Laminating | Repair Kit | Repairing, Resurfacing, Rebuilding |
| Waterproof | — | — | ✓ |
| Price | $135.99 | $34.25 | $20.32 |
| See on Amazon → | See on Amazon → | See on Amazon → |
Step Zero Is Not Optional: Stop the Water First
Every persuasive rot repair review eventually says the same thing, and one particularly blunt account of an RV subfloor rescue phrases it best: find and seal all water leaks first — if that hasn’t been done, it’s a wasted weeks process. The same logic applies to boats with zero exceptions.
Penetrating epoxy consolidates degraded wood and gives it compressive strength again. It does not make wood waterproof in any meaningful long-term sense if the leak pathway that caused the rot is still open. Deck hardware bedding that’s been weeping for three seasons, a cracked toe rail, a chainplate collar that hasn’t been re-sealed — these are your upstream causes. Per the BoatUS Deck Rot Repair Guide, the failure mode in re-rot repairs is almost always traced back to an unsealed penetration rather than product failure.
Before you open a single container of epoxy, do the following:
- Trace every fastener, fitting, and hardware penetration within 18 inches of the rot zone
- Remove, clean, and re-bed anything that shows sealant failure (cracked, shrunken, or missing bedding compound)
- Allow 48–72 hours for new sealant to fully cure before introducing liquid epoxy in adjacent wood
This step adds time. It’s also the only reason the repair lasts.
The Sequence: Why Order Matters
The three-product system works because each layer has a specific job that the others can’t perform:
| Product | Viscosity | Job | What goes wrong if skipped |
|---|---|---|---|
| Penetrating epoxy | Very thin (water-like) | Soak into degraded fibers, restore compressive strength | Laminating resin sits on top of powdery rot; bond fails under load |
| Laminating resin + cloth | Medium | Structural rebuild, tensile strength | Filler on bare penetrating epoxy has no fiber reinforcement — cracks under flexing |
| Short-strand or fairing filler | Paste | Restore surface geometry, bridge low spots | Applied too early, it prevents penetrating epoxy from curing properly |
Phase 1: Penetrating Epoxy
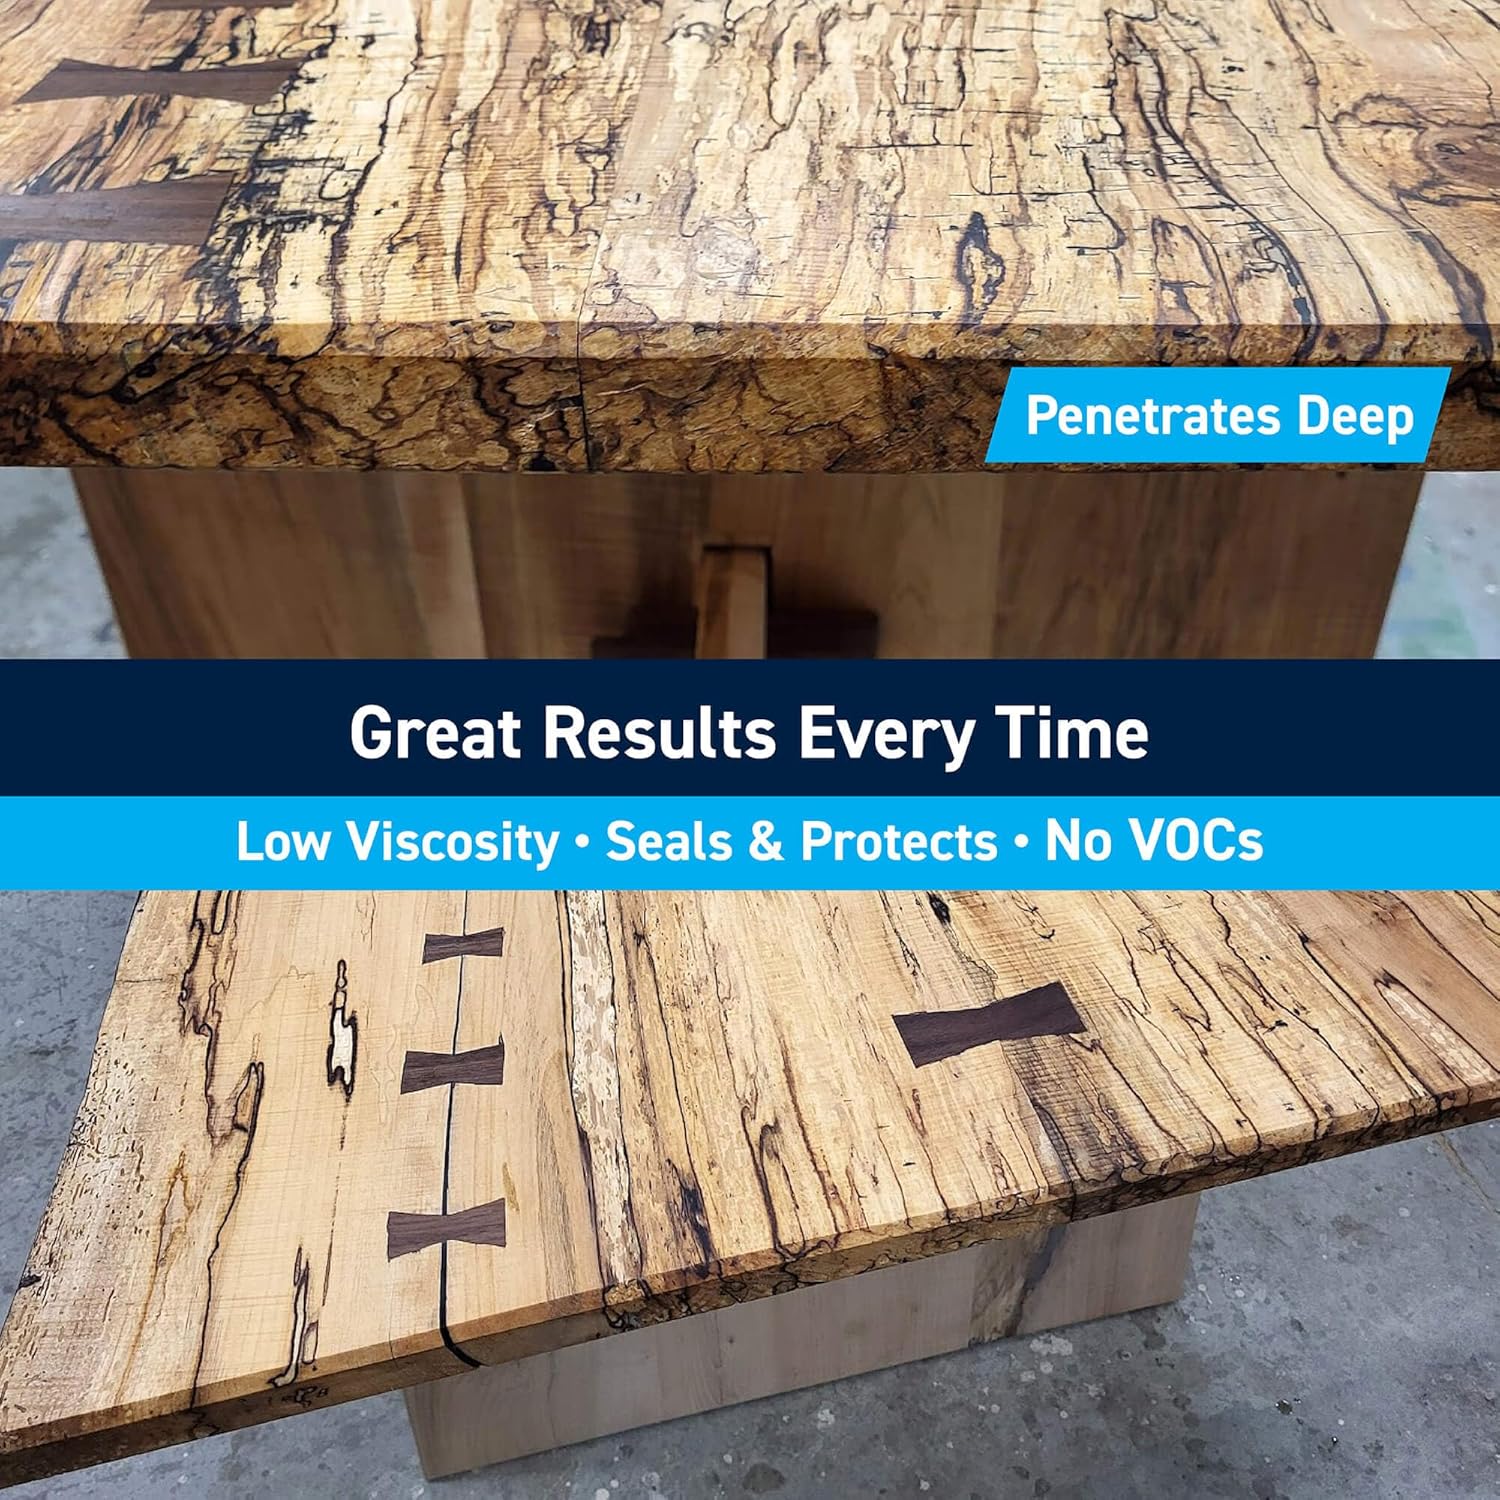
Penetrating epoxy — sometimes called a consolidant — is the first product into the wood. It works because its low viscosity lets it wick into wood fibers that have been degraded by fungal decay, then cure hard and lock those fibers together. The Epoxyworks Issue 54 treatment of rot repair with West System products notes that you’re not replacing the wood’s mass — you’re stabilizing it so it can accept a structural laminate above it.
Application notes that actually matter:
- Dry the wood as much as possible before application. Penetrating epoxy will cure in damp wood, but wet wood (visible moisture, surface sheen) significantly slows penetration and can produce a weak cure. If the area is actively damp, use a heat gun at low setting or wait several dry days before proceeding.
- Apply in multiple thin coats. One heavy pour is less effective than three lighter applications 30–45 minutes apart. Let each coat absorb before the next. You’re chasing the wicking action of the wood, not flooding the surface.
- Warm product penetrates deeper. Store your penetrating epoxy at room temperature, not a cold bilge. Cooler product thickens slightly and wicks less aggressively.
TotalBoat Penetrating Epoxy is a product that reviewers repairing stringer cores and decayed transom wood reach for repeatedly, with multiple buyers reporting returning for 3+ gallon orders across phased projects. That purchase pattern is a useful signal: structural rot jobs consume more material than new buyers expect. Budget conservatively for the penetrating phase, then add 30% for reality.
For small spot repairs — a Sunfish hull, a localized soft spot smaller than a dinner plate — the WEST SYSTEM 105-K Fiberglass Repair Kit gives you epoxy, cloth, and basic materials in a self-contained format. Reviewers of the 105-K consistently note that a single kit contains significantly more material than needed for a small hole repair, which means one kit is appropriate for 1–3 small consolidation jobs, not a full stringer rebuild.
How long before you can laminate over penetrating epoxy? Wait until the surface is firm to the touch and no longer tacky — typically 8–24 hours depending on temperature and humidity. Do not wait so long that the surface fully post-cures to a glassy finish (usually 48–72 hours at 70°F). A surface that’s past the “green” stage needs light sanding with 80-grit to re-establish mechanical adhesion before you laminate over it. Per the Jamestown Distributors Boatbuilder Central epoxy basics guide, the laminating window is your best adhesion opportunity — plan to be ready for Phase 2 before that window closes.
Phase 2: Laminating Resin and Fiberglass Cloth
Once the penetrating epoxy has firmed up but not fully cured, you’re ready to lay fiberglass. This is the structural phase — you’re adding tensile strength back to an area that wood alone, even consolidated wood, can’t provide.
Epoxy vs. polyester laminating resin — the decision point:
If your substrate is epoxy (you’ve just applied penetrating epoxy in Phase 1), you must laminate with epoxy resin. Polyester does not bond reliably to cured epoxy. This is a compatibility rule, not a preference — per WoodenBoat Magazine’s consolidants overview, applying polyester over a cured epoxy surface creates an adhesion failure plane. The reverse is not true: epoxy bonds well to cured polyester (with surface prep), but the sequence in rot repair always runs epoxy-first, so you’re committed to epoxy laminating from Phase 1 forward.
TotalBoat 5:1 Epoxy is a workhorse product across structural repair work. Reviewers repairing stringers and deck wood describe multi-gallon projects (three gallons or more across multiple orders is a common pattern in aggregated reviews), which aligns with the consumption reality of any serious structural rebuild.
If you’re working on a polyester hull section where no penetrating epoxy was used — for example, patching a fiberglass crack that didn’t involve wood — TotalBoat Polyester Laminating Resin is a legitimate, lower-cost option. But the MEKP (methyl ethyl ketone peroxide, the hardener/catalyst for polyester resin) ratio question is genuinely confusing, and reviewers say so directly. One buyer described the process as “a guessing game” and was frustrated that a popular online instructor wouldn’t provide guidance without a paid membership. Here are clear starting points:
By the numbers — MEKP ratio for TotalBoat Polyester Laminating Resin:
- Standard working temp (65–80°F): 1.25–1.5% MEKP by volume
- Hot conditions (80–90°F): drop to 1.0–1.25% to extend working time
- Cool conditions (55–65°F): increase to 1.5–2.0% — do not exceed 2%
- Never exceed 2% MEKP — excess catalyst weakens the cure rather than speeding it
These are starting points based on manufacturer published data and resin chemistry conventions. Mix a small test batch first and time the gel; adjust from there.
Phase 3: Short-Strand Filler for Surface Restoration
Filler goes on last — always. It’s not structural. Its job is to fill surface voids, fair transitions, and give the topcoat a smooth substrate.
J-B Weld Fiberglass Short-Strand Filler earns notably strong marks in aggregated reviews when compared directly to Bondo-brand options. Reviewers cite meaningfully easier sanding and better adhesion to fiberglass substrates — one buyer started with a quart and immediately ordered a full gallon after finishing a repair, which is the kind of behavior that signals genuine product satisfaction rather than just adequate results. For a finishing filler on a marine repair, it’s the product the reviewer community keeps coming back to.
Critical sequencing note: filler goes over fully cured laminate only. Applying filler over green (partially cured) epoxy or laminating resin traps solvents and can cause soft spots in the finished repair. Wait a full cure cycle — minimum 24 hours at 70°F, longer in cool conditions — before fairing.
Frequently Asked Questions
Can penetrating epoxy actually replace rotten wood, or does the rot have to be cut out first? Penetrating epoxy stabilizes degraded wood fibers — it does not replace missing mass. If the rot has progressed to the point where the wood is punky, crumbling, or hollow (you can push it out with your finger), that material needs to be excavated and replaced with epoxy filler or new wood before consolidation begins. Penetrating epoxy works on wood that is structurally weakened but still physically present. Per the Practical Sailor penetrating epoxy roundup, the consolidant category is most effective on early-to-mid stage rot where fiber structure remains.
How long do I need to wait after applying penetrating epoxy before laminating fiberglass over it? Wait for a firm, non-tacky surface — typically 8–24 hours at 65–75°F. If you’ve passed the 48-hour mark and the surface is fully hard and glossy, sand lightly with 80-grit before laminating to restore mechanical adhesion. The goal is to catch the “green” window where the surface is solid but the chemistry still allows a chemical bond with the next epoxy layer.
Can I mix polyester resin with epoxy products in the same repair, or do they need to stay separate? They need to stay in the correct sequence. Epoxy will bond to cured polyester (with sanding). Polyester will NOT bond reliably to cured epoxy. In practice: if you applied penetrating epoxy in Phase 1, you are committed to epoxy-based laminating resin in Phase 2. Do not switch to polyester mid-repair to save money — the adhesion failure is predictable and will show up under load.
How do I calculate how much MEKP hardener to add to TotalBoat Polyester Laminating Resin? Start at 1.25–1.5% MEKP by volume at standard shop temperatures (65–80°F). For a 32 oz (approximately 946 ml) batch, that’s roughly 12–14 ml of MEKP. Adjust up slightly in cold conditions, down slightly in heat. Never exceed 2% — overcatalyzed polyester cures brittle and weak. Always do a small test mix before committing to a full laminating batch.
Is J-B Weld short-strand fiberglass filler strong enough to use as a structural repair on its own? No. Short-strand filler is a fairing and finishing material, not a structural one. It lacks the continuous fiber reinforcement that gives fiberglass laminate its tensile strength. Use it to fill surface voids, fair transitions, and smooth over laminate work — but the structural repair beneath it must be fiberglass cloth set in epoxy or polyester resin. Filler on its own over a void or weakened area will crack under any meaningful flexing load.
The Decision Rule
If you’re standing in front of a soft spot right now, here’s how to route yourself:
- Wood is soft but intact (screwdriver resistance, no crumbling): Penetrating epoxy → laminating epoxy + cloth → short-strand filler. This is the full three-phase sequence.
- Wood is punky or hollow (falls apart when probed): Excavate to solid material first, fill voids with thickened epoxy or replace core stock, then run the full sequence.
- No wood involved, just a fiberglass crack on a polyester hull: Polyester laminating resin with MEKP at 1.25–1.5% is appropriate and cost-effective. Skip penetrating epoxy entirely.
- Any situation where you haven’t sealed the leak source: Stop. Seal the leak. Then start Phase 1.
The repair sequence is only as durable as the preparation underneath it. Get the order right, give each phase its cure time, and the chemistry does the rest.