August 8, 2026 • Carmen Reyes • 10 min reading time • Specs verified June 25, 2026
Roller vs. Brush vs. Spray: Topside Paint Application Methods That Actually Work
You spent three weekends prepping the hull — washing, sanding, priming — and now you’re standing at the bow with a gallon of topside paint in your hand, wondering whether to reach for the roller, the brush, or start pricing out a spray setup. Topside paint (the finish coat applied to the sides of the hull and cabin surfaces above the waterline) is the most visible result of any refit. Pick the wrong application method and you’ll be looking at brush marks, stipple texture, or fisheye craters every time you walk the dock. Pick the right one and you get a finish that turns heads. This guide is for the owner who already knows what gelcoat is, has read the label on their paint can, and now needs a straight answer about which method delivers what — and under what conditions.
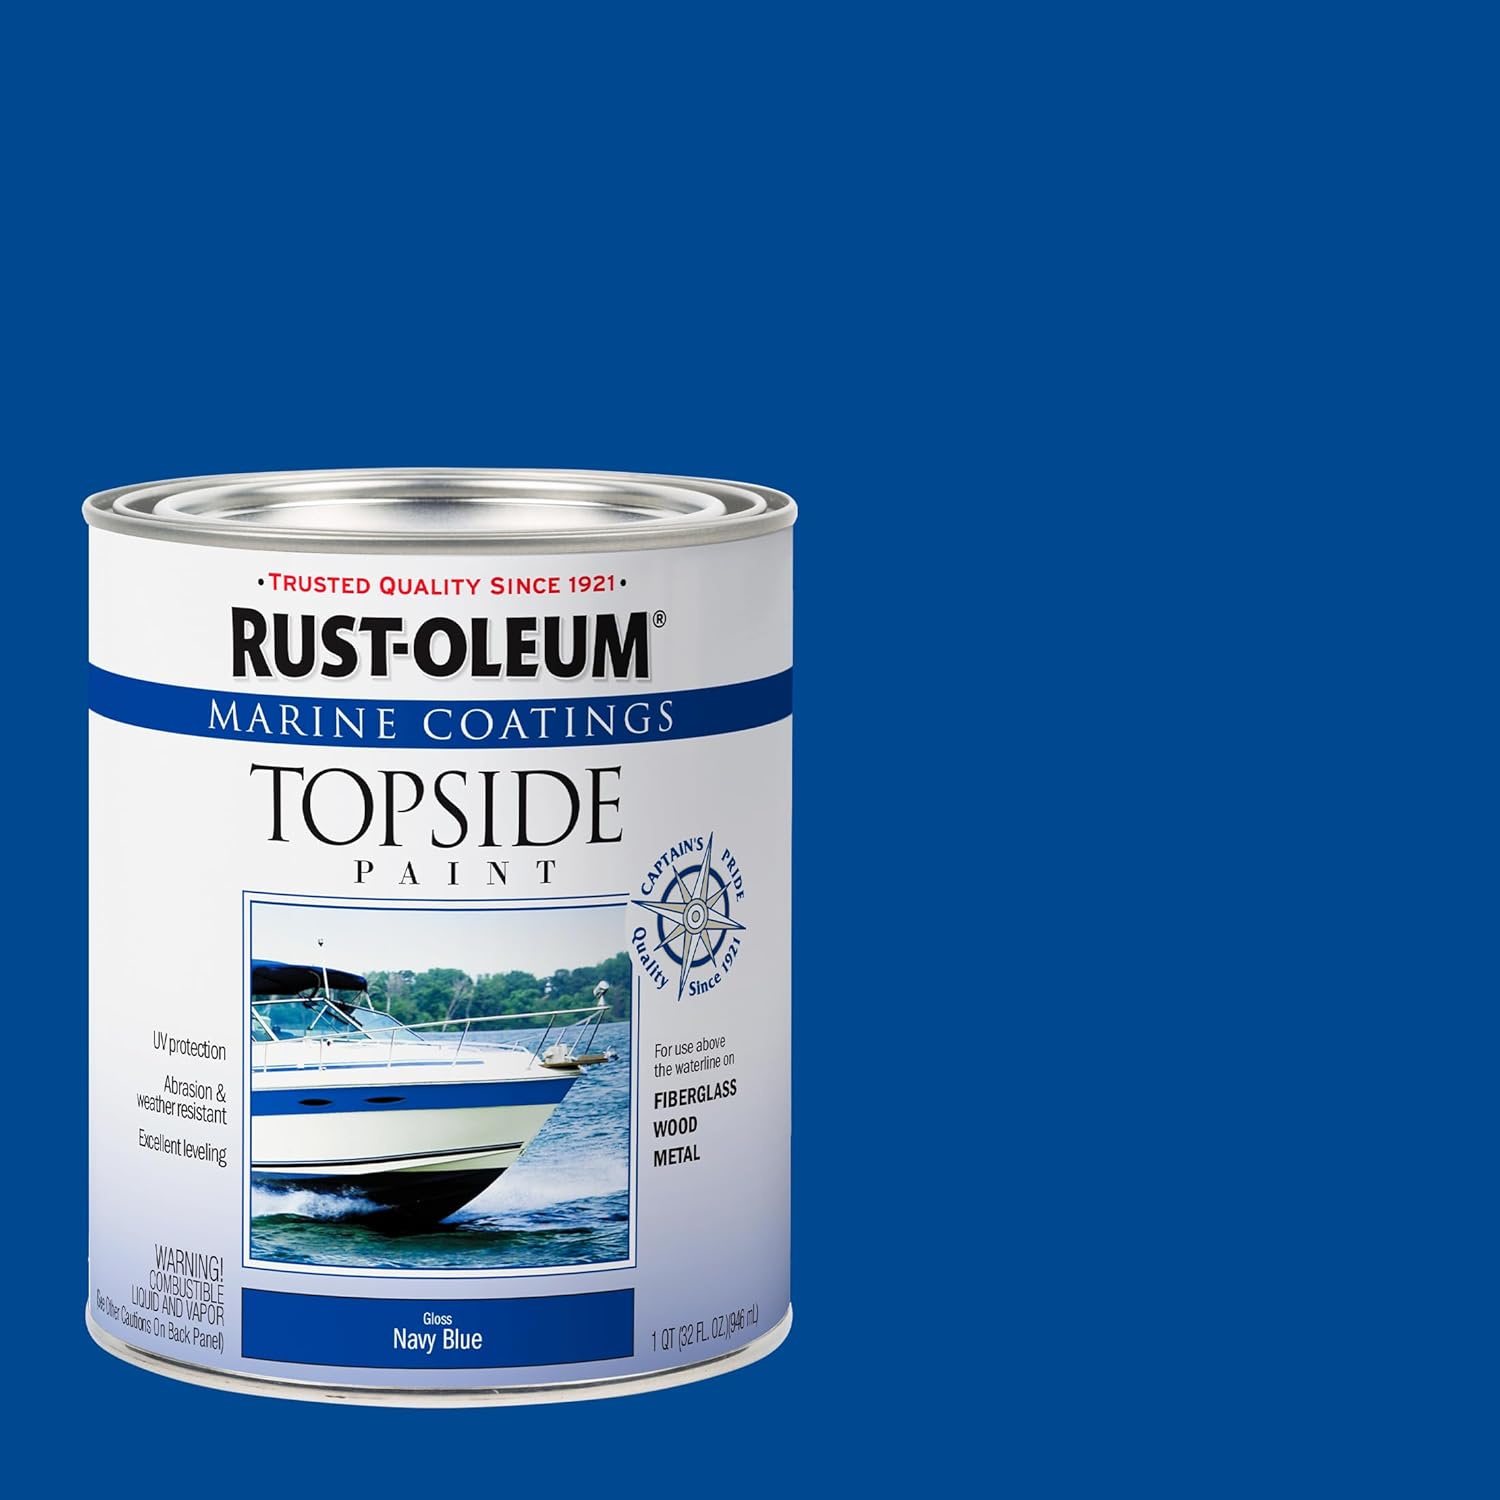
| EDITOR'S PICKTotalBoat Wet Edge Topside Mari… | Mid-tierRust-Oleum 396969 Marine Coatin… | Budget pickRust-Oleum 396958 Marine Coatin… | |
|---|---|---|---|
| Paint type | Polyurethane | Primer | Enamel |
| Finish | — | — | Gloss |
| Color | White | White | Navy Blue |
| Size | 32 Fl Oz | Quart | Quart |
| Compatible surfaces | Boats, RVs, fiberglass, metal, wood | Wood, fiberglass | — |
| Price | $45.89 | $43.65 | $23.83 |
| See on Amazon → | See on Amazon → | See on Amazon → |
Why Application Method Matters More Than Most Owners Expect
The paint itself only gets you halfway there. Topside paints like TotalBoat Wet Edge and Rust-Oleum Marine Topside are formulated to flow and level — meaning they’re designed to settle flat after application — but how much they can compensate for technique varies significantly by product and ambient conditions.
Practical Sailor’s topside paint roundup, available at practicalsailor.com, makes this point directly: application method accounts for a substantial portion of the final sheen and smoothness variance between products that test similarly wet. The same paint, same temperature, same hull surface — different method — can produce noticeably different results.
Here’s what each method is actually optimizing for:
- Roller alone: Speed and coverage. Leaves a stipple texture (small bumps from the foam roller nap) unless the paint self-levels aggressively.
- Brush alone: Control and access in tight areas. Can leave brush marks if paint tacks up too fast or you overwork it.
- Tip-and-roll (roller + brush “tipping”): The DIY standard for achieving near-spray results. The roller lays paint fast; the brush “tips” it out — meaning you drag a dry brush lightly over the surface immediately after rolling to pop bubbles and lay the texture flat.
- Spray (HVLP or conventional): The highest-gloss potential, most unforgiving of surface prep, and requires the most equipment, masking, and safety infrastructure.
Most intermediate DIY refitters land on tip-and-roll. But knowing when to break from that default is the real skill.
Tip-and-Roll: The Method That Earns Its Reputation
Tip-and-roll works because it separates two jobs — coverage and leveling — and assigns each to the right tool. The roller (use a 3/16” or 1/4” foam roller, not a nap roller) moves paint onto the surface fast and evenly. Within 30–60 seconds of rolling a section, a second person (or you, working in short passes) follows with a dry foam brush or soft bristle brush held nearly flat, dragging lightly across the wet surface in long, uninterrupted strokes.
The key word is lightly. You’re not spreading paint with the brush — you’re removing stipple texture and encouraging the paint’s natural surface tension to pull it flat. If you press hard or go back over an area the paint has started to tack (become sticky as solvents evaporate), you’ll drag the surface and leave marks that don’t self-heal.
TotalBoat Wet Edge is specifically engineered for this workflow. The product’s technical data sheet describes its self-leveling chemistry, and across aggregated owner reviews, the pattern is consistent: owners who follow the tip-and-roll sequence with Wet Edge report results they describe as “near-spray quality” — including at least one reviewer who had been openly skeptical going in. That’s not marketing language; that’s owners reporting back after the paint dried.
Where tip-and-roll struggles: high humidity, direct sun, and temperatures above 85°F. In those conditions, the paint “flashes” — the solvents evaporate so fast that the surface tacks before you can tip it out. The window between rollable and untippable collapses from 60 seconds to 15 or 20 seconds, and you can’t keep up.
Managing Flash with TotalBoat Brushing Thinner 100
Reviewers of TotalBoat Brushing Thinner 100 specifically call out its role in managing this problem. Adding a small amount — typically 5–10% by volume, per the product’s technical notes — slows the solvent evaporation rate, extending the working window on warm or dry days. Reviewers who discovered this mid-project note that it’s the difference between a usable open time and a paint that’s fighting you on every pass.
One important clarification that comes up repeatedly in buyer questions: TotalBoat Brushing Thinner 100 is formulated for TotalBoat products. It should not be used as a general-purpose thinner for other brands like Rust-Oleum. Each paint manufacturer’s thinner is calibrated to that paint’s specific resin system; using the wrong thinner can affect adhesion, gloss, and cure time. Always match the thinner to the paint brand.
Spray Application: When It’s Worth the Setup
Spray finishing — whether HVLP (high-volume, low-pressure, which atomizes paint with high air volume at low nozzle pressure) or conventional airless spray — produces the flattest possible finish because it applies paint as a fine mist that settles into a continuous film without any mechanical contact. No roller stipple, no brush marks.
The BoatUS Foundation’s DIY finishing guides are candid about the tradeoff: spray requires thorough masking (overspray travels), proper respiratory protection (you are breathing atomized solvent), ideally a calm day under 10 knots, and a surface that is flawlessly prepped. Any pit, scratch, or contamination reads at full magnification under a high-gloss spray finish. On a brushed or rolled surface, minor imperfections are partly masked by texture. On a sprayed surface, they’re not.
For a 40-foot bluewater hull commissioning a full topside respray, spray may be the right call — particularly if you’re using a two-part linear polyurethane like Awlgrip or Interlux Perfection, which are engineered with spray application as the primary method and have more complex pot life (the time the mixed paint remains usable) and cure schedules. But for a 17-to-25-foot recreational boat using a single-part alkyd or polyurethane topside, tip-and-roll delivers comparable results without the equipment cost or safety overhead.
Rust-Oleum Marine Topside: What Owners Actually Report
Rust-Oleum Marine Topside is the entry point for a large segment of DIY refitters, and owner consensus is worth understanding clearly before you reach for a method.
Owners consistently report excellent abrasion resistance — it’s a durable finish for the price — and note it undercuts Pettit EasyPoxy and similar mid-range single-part paints on cost. However, at least one documented reviewer encountered cratering (small circular depressions in the cured surface) during application and had to troubleshoot mid-project. Cratering typically happens when oil, silicone contamination, or moisture enters the wet paint film. The fix is usually thorough degreasing (wipe-down with a solvent like acetone or a dedicated panel wipe) before painting, and avoiding application when dew point is within 5°F of ambient temperature.
On coverage: Rust-Oleum Marine Topside is not a one-coat paint in practice, regardless of label language. Owners report that one coat often shows holidays (thin or skipped spots) and insufficient hiding power over bare primer. Two coats is the realistic baseline, three if you’re transitioning from a dark to a light color.
By the Numbers
| Method | Avg. Finish Quality (1-coat) | Open-Time Window (75°F) | Skill Curve |
|---|---|---|---|
| Roller only | Stipple texture, moderate sheen | 20–40 min | Low |
| Tip-and-roll | Near-spray, high sheen | 30–60 min | Moderate |
| Spray (HVLP) | Gloss maximum | 15–25 min | High |
| Brush only | Variable, mark-prone | 20–45 min | Moderate-High |
Open-time estimates are generalizations based on manufacturer TDS data and owner reporting at moderate temperature and humidity. Adjust for your conditions.
Prep Is Where Most Intermediate Projects Fail
Owners of Rust-Oleum Wood and Fiberglass Primer — a common choice before topside application — consistently note that inadequate sanding leads directly to adhesion failure later. One reviewer documented two weeks of sanding on a project where they’d rushed the primer coat. The Jamestown Distributors Boatbuilder Central application guides echo this: primer sanding to 220-grit before topcoat is the floor, not the ceiling, for a finish you’ll be happy with in year two.
The same guides note that intercoat adhesion windows matter — if you wait too long between primer and topcoat, or between topcoat coats, mechanical adhesion (the tooth the sanded surface provides) can degrade. Check your specific product TDS for the recoat window, and plan your workdays around it. Humid conditions extend dry times meaningfully: a coat that tacks in 4 hours at 70°F and 50% relative humidity might need 7–8 hours at 85°F and 80% relative humidity.
Frequently Asked Questions
How many coats of topside paint does a fiberglass boat actually need? Two coats is the practical minimum for most single-part topside paints over a properly primed surface. If you’re changing colors dramatically (dark to white, or white to dark), plan for three. The first coat establishes adhesion and base coverage; the second coat builds film thickness and sheen. Sanding lightly between coats with 320-grit improves adhesion and knocks down any dust nibs.
Will Rust-Oleum Marine Topside cover in one coat or do I need multiple passes? Based on aggregated owner reporting and the product’s own technical documentation, one coat is rarely sufficient for full hiding and durability. Expect two coats minimum. Owners who attempted one-coat coverage report visible holidays and thin spots, especially over lighter primers.
Can I use TotalBoat Brushing Thinner 100 with Rust-Oleum paint or only TotalBoat products? TotalBoat Brushing Thinner 100 is formulated for TotalBoat paint systems. Using it with Rust-Oleum Marine Topside is not recommended — Rust-Oleum’s own thinning guidance specifies mineral spirits or their recommended proprietary thinner at controlled ratios. Mixing thinners across brands can affect gloss, cure, and adhesion in ways that aren’t predictable until after the paint dries.
How long should I wait between coats in humid conditions? Check the manufacturer’s TDS for your specific product — this is not a place for generalizing. As a rule, high humidity (above 70% relative humidity) slows solvent evaporation and extends dry-to-recoat times. Many marine topside paints list a conditional recoat window like “4–6 hours at 77°F, 50% RH.” In high humidity, add 50–100% to that window and confirm the prior coat is fully tack-free before applying the next.
Does rolling leave stipple texture or will it self-level to a smooth finish? Rolling alone typically leaves some stipple — the texture from the foam roller nap — unless the paint has very aggressive self-leveling chemistry. TotalBoat Wet Edge is specifically noted by owners for its self-leveling behavior, but even with Wet Edge, tip-and-roll produces a noticeably smoother result than rolling alone. If a smooth gloss finish matters to you, tip-and-roll is the method; if durability and coverage are the priority and texture is acceptable, roller-only is faster.
The Decision Rule
If you’re painting a fiberglass runabout or coastal cruiser with a single-part topside in moderate conditions: tip-and-roll is your method. Use TotalBoat Wet Edge for the most forgiving self-leveling behavior, add Brushing Thinner 100 in warm weather to manage flash, and budget for two coats minimum.
If you’re working in high heat or humidity and your paint is fighting you: slow down the solvent, not your pace. Match your thinner to your paint brand, extend your intercoat wait times, and work in the coolest part of the day.
If you’re commissioning a professional-grade finish on a larger vessel with two-part linear polyurethane: spray is worth the infrastructure investment — but only on a surface that’s already optically flat, because spray hides nothing.
The paint is only as good as the surface under it, and the surface is only as good as the method on top of it. Get both right and the finish takes care of itself.