October 24, 2026 • Carmen Reyes • 10 min reading time • Specs verified June 25, 2026
Marine Topside Paint Brush and Roller Technique: Getting Near-Spray Results Without a Gun
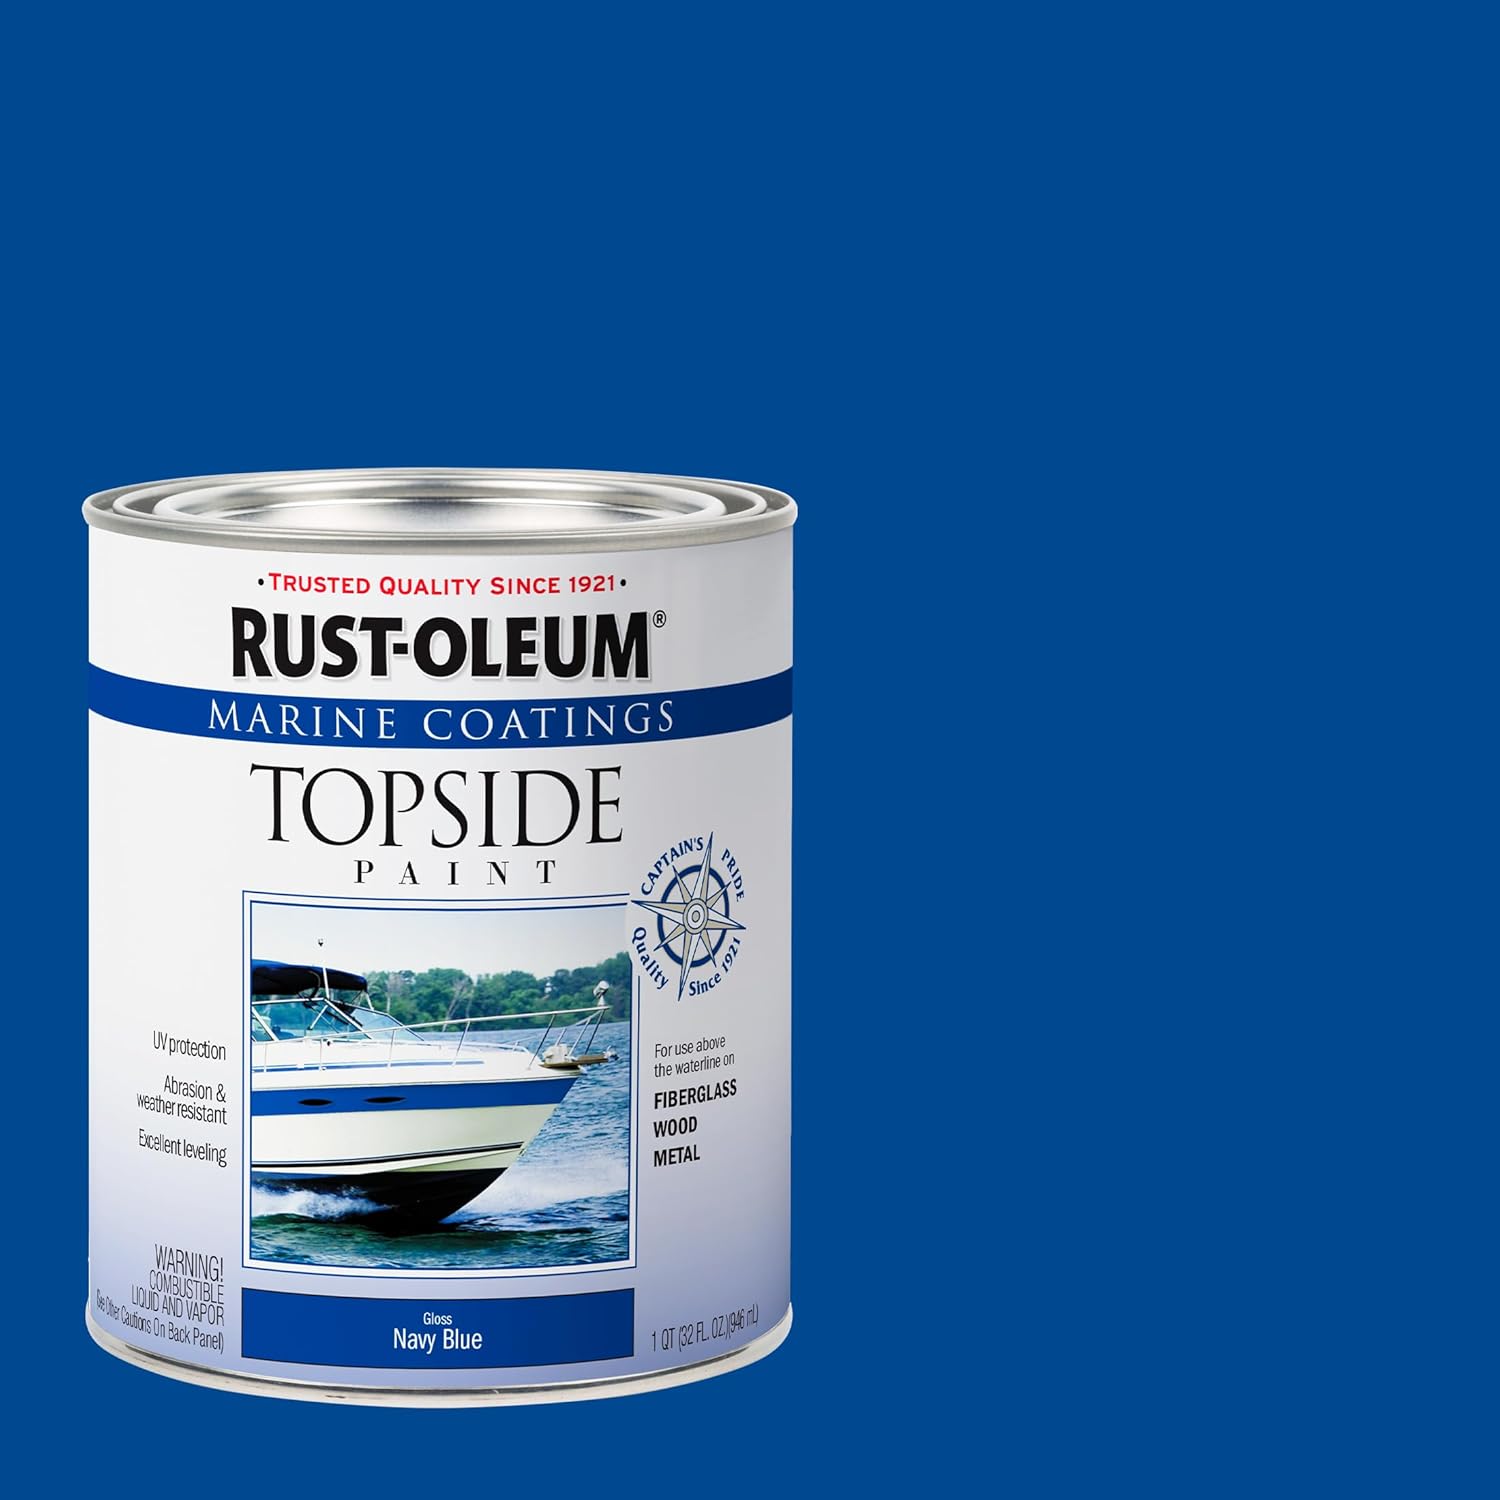
You’ve just finished sanding the topsides (the painted hull sections above the waterline, visible when the boat is in the water or on the trailer) and you’re looking at a freshly primed surface that deserves a finish coat worth bragging about. The problem: a professional spray setup — compressor, HVLP gun, proper containment — is either not available or not practical for a one-person DIY refit. The good news is that brush-and-roller application, done with the right technique and the right materials, can get you surprisingly close to spray-applied results. Not identical — let’s be honest about that — but close enough that first-time observers won’t know the difference, and close enough to justify skipping the rental rig on a 30-footer’s topsides. This guide walks through the technique, the product choices that make it work, and the specific decisions that separate a streaky amateur finish from one that turns heads at the dock.
Why Technique Matters More Than the Roller Cover You Pick
Here’s the thing most first-timers miss: marine topside paints — especially one-part polyurethane formulations like TotalBoat Wet Edge and Rust-Oleum Marine Topside Paint — are engineered to self-level. Self-leveling means the paint flows out after application, letting surface tension pull the coating flat before it cures. The brush marks and stipple texture left by the roller physically melt away if the paint is given the right working time and ambient conditions to do so.
That means your job as the applicator is not to lay down a perfect film in one pass. Your job is to give the paint the conditions it needs to level itself. Temperature, humidity, thinning, and application speed all feed into this equation. Get those variables right and the paint does most of the work.
The roll-and-tip method is the standard brush-and-roller technique for one- and two-part polyurethane topsides. It works like this: one person (or one pass) rolls a section with a short-nap foam roller — typically 3/16” to 1/4” nap — to lay down a wet film quickly. Immediately behind the roller, a foam or soft bristle brush “tips off” the surface with very light, overlapping strokes in one direction only. Tipping (dragging a nearly-dry brush across the wet rolled surface) breaks up the stipple texture left by the roller and gives the paint a smooth starting point from which it can level the rest of the way. The key word is immediately — if you let the rolled section begin to flash (partially cure and lose its flow) before tipping, you’re dragging a sticky surface instead of a wet one, and you’ll leave marks.
Product Selection: Not All Topside Paints Level Equally
This is where informed purchasing pays off. Across aggregated owner reviews, TotalBoat Wet Edge consistently earns specific praise for its leveling behavior when brushed or rolled. Reviewers who have finished topsides with other one-part paints and then switched to Wet Edge frequently note that visible brush marks are far less of a problem — one owner credited careful technique combined with Wet Edge’s formulation for results they described as “near-spray quality.” That’s not marketing language; it’s a pattern that appears repeatedly in long-form owner reviews and in Jamestown Distributors BoatBuilder Central application notes.
Rust-Oleum Marine Topside Paint occupies a different position. Owner reports consistently highlight its abrasion resistance as a standout trait — it holds up to scrubbing and fender contact better than some premium alternatives. The tradeoff, per the pattern across reviews, is that it typically requires more coats to achieve full, even coverage compared to Wet Edge. Budget for three coats minimum on Rust-Oleum Marine Topside where two might be sufficient with Wet Edge. That changes your material cost and your time budget.
By the numbers:
| Paint | Typical Coats for Full Coverage | Self-Leveling Behavior (Owner Consensus) | Relative Abrasion Resistance |
|---|---|---|---|
| TotalBoat Wet Edge | 2 coats | Excellent; levels aggressively | Good |
| Rust-Oleum Marine Topside | 3+ coats | Moderate; technique-sensitive | Very good |
Practical Sailor’s topside paint comparison guides (multiple issues, 2020–2024) note that one-part alkyd and urethane paints vary significantly in their open time — the window during which the paint remains wet enough to flow and level. Shorter open time means you’re racing the clock on every section; longer open time gives you room to tip and re-tip if needed.
Thinning Is Not Cheating — It’s the Variable Most People Skip
The single most actionable tip in the brush-and-roller technique toolkit is correct thinning. Straight from the can, most topside paints are formulated for spray application, where atomization thins the film naturally. When you roll or brush, the paint goes on thicker, which means it has more mass to level before it flashes. A modest addition of appropriate thinner extends the open time and reduces viscosity (thickness), both of which help the paint flow out flat.
TotalBoat Brushing Thinner 100 is specifically formulated for this purpose. Owner reviews of TotalBoat Brushing Thinner 100 explicitly flag that it slows the flashing process — the rapid early setup that kills leveling — which is the technical mechanism behind its value. This is not generic mineral spirits or lacquer thinner; it’s formulated to extend open time without compromising the cured film’s integrity. Per TotalBoat’s published technical data sheet for Wet Edge, the recommended thinning ratio for brush or roller application is 10–15% by volume with the appropriate thinner. Exceeding that range risks runs and reduces film build (the thickness of cured paint per coat).
For Rust-Oleum Marine Topside, the product data sheet specifies thinning with xylene or acetone at up to 10% for brush application. Follow the manufacturer’s TDS (technical data sheet) precisely here — these are not interchangeable thinners between brands.
Environmental variables matter as much as thinning. Jamestown Distributors BoatBuilder Central application notes for one-part polyurethanes recommend working in temperatures between 50°F and 90°F with humidity below 80%. High humidity slows cure, which sounds helpful but actually creates a window for airborne contamination — dust, insects, pollen — to settle into your wet film. Hot sun on a dark hull can flash the surface before the underlying film has leveled, leaving a textured skin on top of a still-wet layer beneath. Early morning application in spring and fall, with stable temperatures and moderate humidity, is the consistent recommendation across both WoodenBoat Magazine finishing guides and BoatUS DIY painting resources.
Application Mechanics: The Details That Separate Good from Great
Roller selection: Use a 4” to 6” foam roller with 3/16” nap for flat and slightly curved surfaces. A longer nap holds more paint but leaves deeper stipple that takes longer to level. Foam is preferred over woven covers because it doesn’t introduce fiber contamination or micro-bubbles at the same rate.
Brush selection for tipping: A high-quality foam brush (3”–4”) or a soft, fine-bristle brush works for tipping. The brush should be nearly dry — dip it once at the start of each panel, wipe most of the paint off, and use it only to drag across the surface, not to add paint. Badger-hair or china-bristle brushes leave less texture than synthetic bristle when tipping. WoodenBoat Magazine finishing guides consistently recommend foam tips for first-timers because they’re forgiving and cheap enough to discard between sessions.
Section size discipline: Roll one manageable section at a time — roughly 18” wide by the length of one arm’s reach. Tip it before rolling the next section. Don’t let yourself get ahead of your tipping pass. This is where two-person teams have a real advantage: one rolls, one tips, maintaining a wet edge (the boundary between the freshly applied paint and the previously rolled section) throughout the panel.
Maintaining a wet edge: Lap marks — the visible ridges where one pass overlaps a dried edge — are the most common finish defect in brush-and-roller application. Preventing them means working fast enough that each new section is rolled and tipped before the previous section has begun to flash. On larger panels, this is a strong argument for working with a partner.
Cratering and contamination prevention: Cratering (small circular depressions in the cured finish, resembling tiny craters) is typically caused by one of three things: silicone contamination on the surface, oil contamination from compressed air lines (relevant if you’re using air tools to clean between coats), or incompatible products in the coating stack. Rust-Oleum Marine Topside owner reviews include accounts of cratering when the paint was applied to non-standard surfaces without proper prep — one reviewer encountered this issue on bathroom tiles used as an off-label test surface, where surface contamination and lack of mechanical adhesion created ideal conditions for crater formation. The fix is surface prep: wax removal with a dedicated dewaxer, followed by a light sand, followed by a tack cloth wipe immediately before painting.
Primer and gloss: Per the Rust-Oleum Marine Topside product data sheet and consistent with owner-reported outcomes, the primer system beneath the topcoat does influence the final gloss level. A properly sanded and filled primer surface gives the topcoat a flat, consistent base from which it can reflect light evenly. An incompatible or insufficiently sanded primer can telegraph (show through) texture into the topcoat film, reducing apparent gloss even when the topcoat itself is applied correctly.
Frequently Asked Questions
How many coats does Rust-Oleum Marine Topside actually need for full coverage? Based on the pattern across owner reviews and the product’s published coverage specifications, plan for a minimum of three coats on bare or primed surfaces, with light sanding (220-grit) between coats. Two coats may achieve visual coverage on mid-tone colors but typically won’t deliver the film thickness needed for durability.
Can TotalBoat Wet Edge be brushed on without leaving visible brush marks? Yes — it’s one of the paint’s most consistently praised characteristics. Owners report that Wet Edge levels aggressively enough that careful brush-only application (without rolling) leaves minimal visible marks, particularly with the roll-and-tip method and appropriate use of TotalBoat Brushing Thinner 100.
What does Brushing Thinner 100 actually do and is it necessary? It extends the paint’s open time by slowing solvent evaporation, which gives the film more time to flow and level before it begins to cure. It’s not strictly necessary in cool, humid conditions, but in warm weather or direct sun, owner reviews suggest it makes a measurable difference in the final finish quality. It is specific to TotalBoat water-reducible and alkyd systems — don’t substitute general-purpose thinners.
Why does marine topside paint crater and how do you prevent it? Cratering is almost always a surface prep failure: silicone contamination, oil, or an incompatible coating beneath the topcoat. Prevention is mechanical — dewax, sand, wipe with a tack cloth, and apply coats within the manufacturer’s recoat window.
Can marine topside paint be used on non-boat surfaces like tiles or furniture? Technically yes, but results vary significantly. These paints are formulated to bond to primed fiberglass, wood, and marine metals. Applied to tile, glass, or other non-porous surfaces without appropriate primer and mechanical adhesion, adhesion failures and cratering are common. Rust-Oleum Marine Spar Varnish, which owner reviews praise for its performance on outdoor wood furniture (Adirondack chairs, patio tables), is a more appropriate topcoat for wood furniture applications given its flexibility and UV resistance profile.
Does the primer choice affect the final gloss level of the topcoat? Yes, directly. The topcoat reflects what’s beneath it. A primer surface with filling voids, sanded smooth with 180–220 grit, produces a measurably higher gloss in the finished topcoat than a rough or partially sanded primer. Practical Sailor’s application guides note this as a frequently underestimated variable in DIY finishing outcomes.
The decision rule: If your goal is maximum gloss with minimum coats and you’re comfortable investing in proper thinner, TotalBoat Wet Edge is the paint to specify — its leveling behavior is the most forgiving of the two for brush-and-roller technique. If long-term abrasion resistance and a lower per-gallon entry cost matter more than leveling ease, Rust-Oleum Marine Topside delivers, but budget the extra coat and the extra prep time it requires. Either way, the technique — roll thin, tip immediately, maintain a wet edge, work in appropriate conditions — matters more than the brand name on the can.